Show screens for specific photos only
Updated October 2023
When you create a photo capture event, you can set the number of photos that will be taken by each user and when you play the event RightBooth will automatically show each user the same sequence of screens for each of photos being taken. But it is possible to alter this behaviour and this article explains how.
|
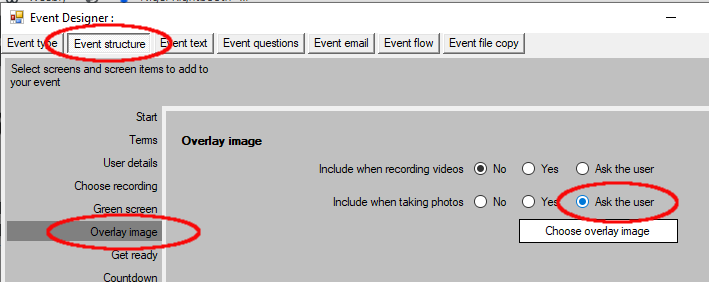
Let's assume we have created a photo capture event for 3 photos and we have included the Overlay image feature: 'Ask the user'.
When you play the event the photo capture screen sequence will be:
|
So the normal behaviour here is that before each photo is taken the user will be shown the 'Choose overlay' screen, allowing them to pick a different overlay image for each of the photos.
But what if you want to allow the user to only see the 'Choose overlay' screen for the first photo, thereby causing RightBooth to use the same overlay for all the other photos? Here's how to do this...
But what if you want to allow the user to only see the 'Choose overlay' screen for the first photo, thereby causing RightBooth to use the same overlay for all the other photos? Here's how to do this...
Now when you play the event, the screen sequence will be:
|
Notice in the above sequence the Choose overlay screen is only shown to the user once at the start of the sequence.
This specific example can be particularly useful if you are wanting to add an overlay image to RightBooth's animated gif feature, as this will cause the chosen overlay to be applied to all photos and hence applied to all frames in the animation.
You can use the 'Show with photo' property on the following screens:
Also note that you can add more than one screen number into the 'Show with photo' property text box. So in the above example, if you enter '1, 3' into the text box, the 'Choose overlay' screen will be shown for photos 1 and 3, but not for photo 2.
This property provides you with a lot of flexibility in your event designs and there are many situations where you might want to use this feature. Some examples:
This specific example can be particularly useful if you are wanting to add an overlay image to RightBooth's animated gif feature, as this will cause the chosen overlay to be applied to all photos and hence applied to all frames in the animation.
You can use the 'Show with photo' property on the following screens:
- Choose overlay
- Choose greenscreen
- Choose filter
- Get ready
- Countdown
- Background image AI
- Background text AI
- Cartoon AI
- Show photo
- Any user defined screen
Also note that you can add more than one screen number into the 'Show with photo' property text box. So in the above example, if you enter '1, 3' into the text box, the 'Choose overlay' screen will be shown for photos 1 and 3, but not for photo 2.
This property provides you with a lot of flexibility in your event designs and there are many situations where you might want to use this feature. Some examples:
- Show the 'Get ready' screen only before the last photo is taken: to allow you to inform the user that it is the last photo
- Show the Count down screen only before the first photo is taken: to speed up the overall process for taking all photos
- Show the 'Choose greenscreen' screen only before the last photo is taken: to add variety.


