
|
Updated: Feb 2021 When you run the RightBooth uninstaller, the software is uninstalled but there are lots of other files left behind, such as the RightBooth Media Library and the RightBooth Settings. This means that if you re-install RightBooth again, it will simply use the previous files and it may not achieve the result you were expecting. So this article explains how to fully remove RightBooth from your computer. 1) Remove the RightBooth Product CodeBefore you uninstall RightBooth, you should remove any product code that you may have previously entered into the software. To do this:
2) Remove the RightBooth Application
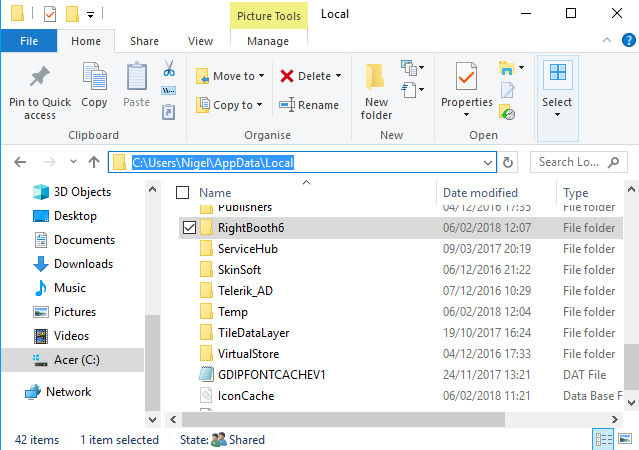
3) Remove the RightBooth Program Data FolderRunning the RightBooth uninstaller will not remove the program data files that are created by RightBooth while it was in use, (such as the RightBooth Settings file). These files are all saved in the currently logged on user's local application data folder.
4) Remove the RightBooth Media LibraryRunning the RightBooth uninstaller may not fully remove the RightBooth Media Library folder. The Media Library is located here: C:\Users\Public\Documents\RightBooth7 Library and you can remove this as follows:
5) Remove Your RightBooth Event FilesYou may wish to also remove all the event files, video files and photo files that you have created using RightBooth. These files are usually all stored in your Documents folder within the sub-folder RightBooth7 Remove this folder follows:
6) Remove the RightBooth Temporary FolderRightBooth also creates temporary files in your Windows Temp folder. These files can usually be found in the Temp folder for the currently logged on user. Example location:
C:\Users\Nigel\AppData\Local\Temp\RightBooth Again, simply use Windows Explorer to delete the temporary RightBooth folder, or better still, run the Windows Disk Clean Up utility by typing 'Disk Clean Up' into your Start search text box, then using the utility to delete all Temporary files from your computer.
2 Comments
Nigel
9/4/2023 06:33:36 am
Send an email to [email protected] including your product code. We will then reset your code to allow you to use it on another computer Your comment will be posted after it is approved.
Leave a Reply. |
AuthorNigel Pearce 
Archives
July 2024
|
 RSS Feed

|
|